I don't see a productive lifestyle I'm having, except for the wallpaper thingy. These few days I've been crazy on wallpapers (caused by boredom) , especially on wallpapers of
For those who don't have the knowledge on Photoshop may wonder how an image is edited, so I'll generously share it with you. Below are a few simple steps to create/edit a wallpaper.
(this is not a tutorial, but just simply giving a whole picture on the step-by-step processes)
(this is not a tutorial, but just simply giving a whole picture on the step-by-step processes)
STEP 1
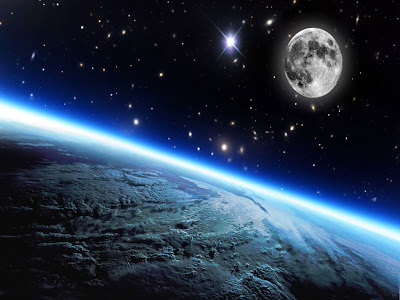
Google it to get a background of the planet. Yeah, this one is a simple one. Plain and empty. But the original picture is dull so I've intensified its colour to yeild the result below.
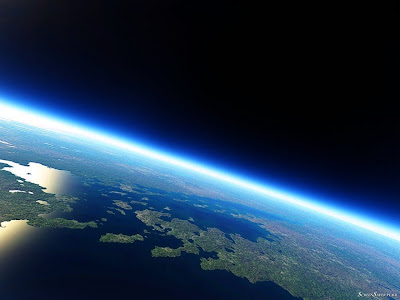
STEP 2
Since it is so plain, why not add something else?
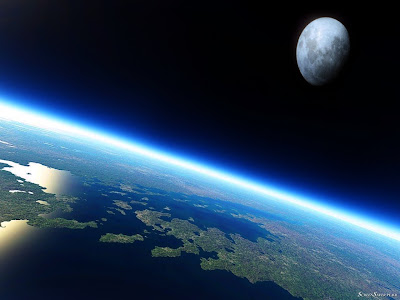
STEP 3
It looks nice with the moon. BUT, did you notice that the earth surface is kinda fake? My guess is: probably computer-generated. So I'll need to replace it with a real one. Again I googled to get a new picture, then I rotated it, stretched it over the surface and finally blend it with the ozones layers. (using feathered earaser)
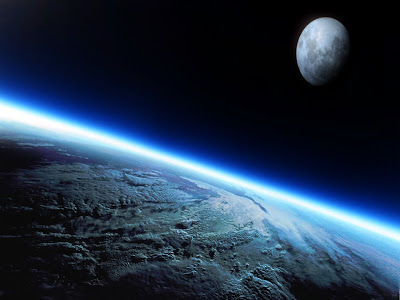
STEP 4
However still the picture lack of something....the twinkle lil stars. So again I googled a picture of stars, then placed it as another layer on top, and set the layer's mode into "screen", which means appear as "lighting", while removing those which covers the earth and moon with a hard-edge earaser.
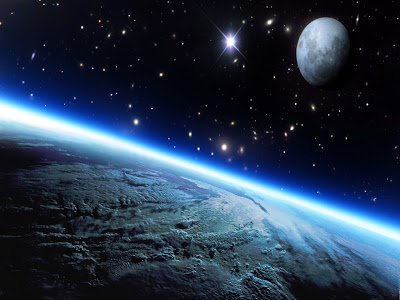
STEP 5
Still, unsatisfying, the moon don't look good anyway. So I've replaced it with a luminescent moon. To create the light spreading effect, simply styled the layer with "outer glow" with mode "screen". This is the final result:
NOTE: wallpaper needs high resolution images!
These are some of the posters and banners that I've did in the past...for the banner the Franciscan should had seen them.


No comments:
Post a Comment
Drop a message here: